Living Documentation: Specflow, NUnit, Pickles
This tutorial demonstrates an implementation of BDD (Behaviour-Driven Development) using free technical stacks listed below:
Specflow: the dotnet version of Cucumber. It uses Gherkin language to describe requirement specification, and is capable of transformingGherkinlanguage into automated testing codes.NUnit: A popular testing framework. You can use other alternatives like MSTest or xUnit as well.Pickles: A tool for generating software documentation form Gherkin specification and Testing Reports.MSBuild: The official building tool of .net framework.
Here are some related terminologies:
Cucumber: Cucumber is a tool that supports Behaviour-Driven Development(BDD).Specflow+: A paid version ofSpecflow, it offers 2 more functions than its free counterpart: generating living documentation and Visual Studio testing runner. A free license was offered since early 2020 for limited personal usage. This tutorial focus on composing a workable implementation of BDD from free components, thus we won’t use any part ofSpecflow+.Gherkin: A language used to describeexecutable specifications.
Objectives
Discover a working combination of toolsets to help stakeholders in a software developing process to follow the guidelines of BDD (Behaviour-Driven Development).
3 important outcomes are:
- Executable Specification
- Automation Tests
- Living Documentation
Source code is available on github.
Preparation
- Visual Studio 2019 : This is the only paid software used in this article. If you can’t get a copy of VS2017, the free version called Visual Studio Community should work too, though I didn’t try it out.
-
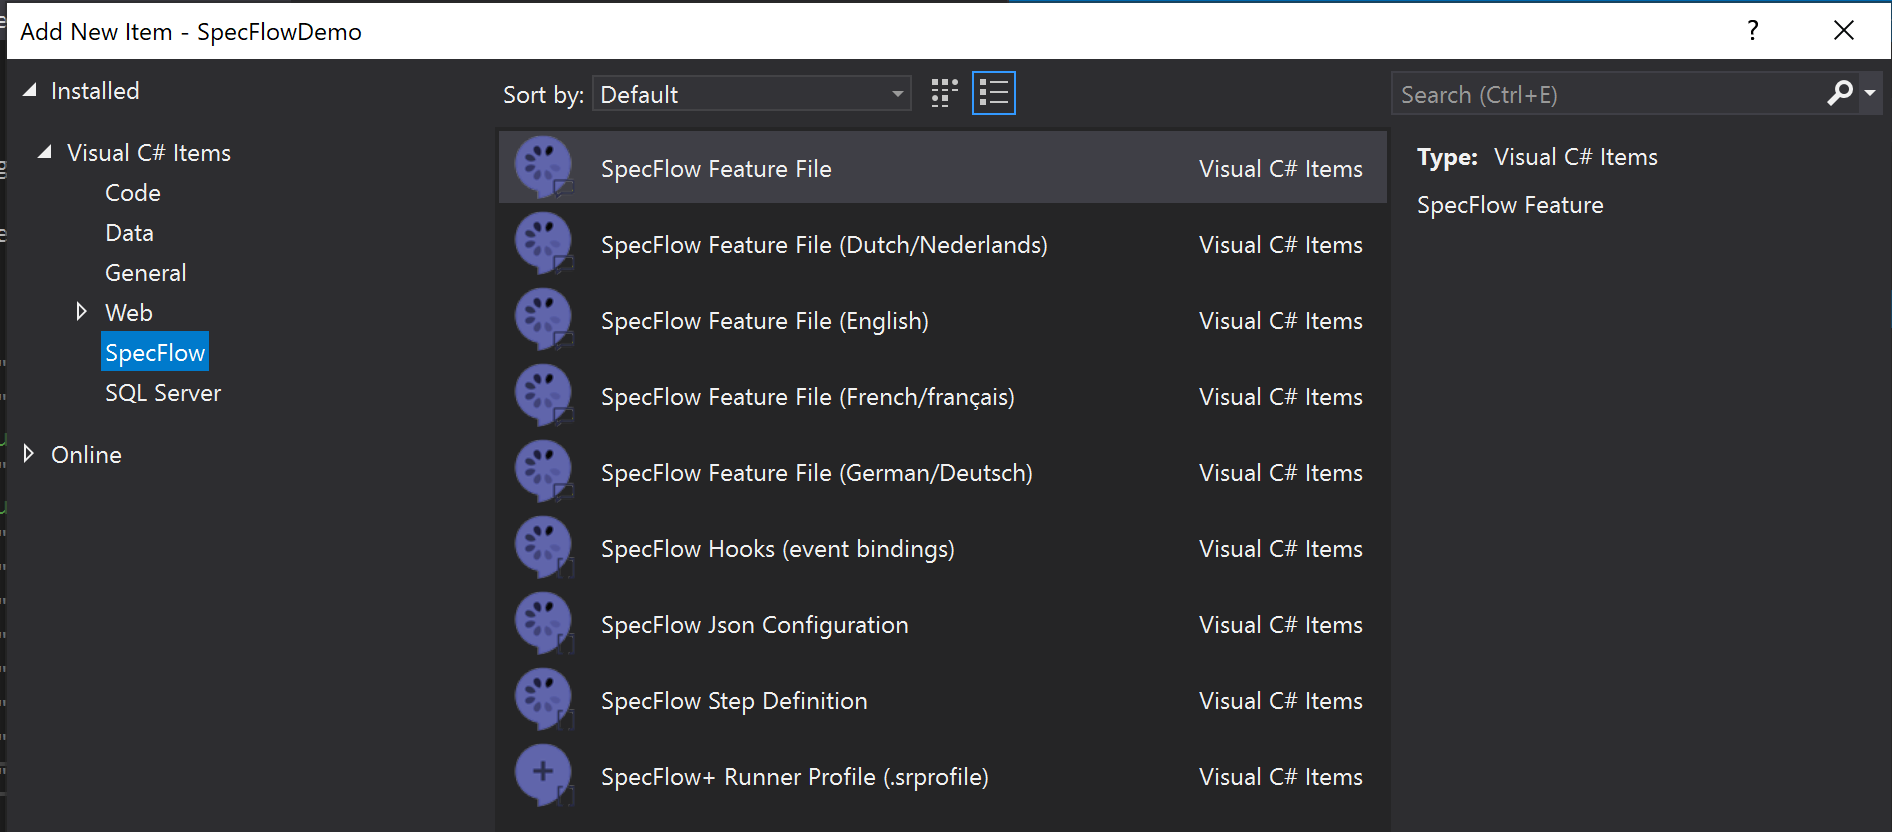
Install Visual Studio Extension : SpecFlow for Visual Studio 2019. This extension bring some new SpecFlow item types that you can add to your VS project.
Create new VS projects and install nuget packages.
Create a VS project called SpecFlowDemo
dotnet new "Class library" --name SpecFlowDemo --output . -f netcoreapp3.1
Put these xml lines in file: SpecFlowDemo.csproj
  <ItemGroup>
    <PackageReference Include="Microsoft.NET.Test.Sdk" Version="16.6.1" />
    <PackageReference Include="NUnit" Version="3.12.0" />
    <PackageReference Include="NUnit3TestAdapter" Version="3.16.1" />
    <PackageReference Include="Pickles" Version="2.20.1" />
    <PackageReference Include="Pickles.CommandLine" Version="2.20.1" />
    <PackageReference Include="Selenium.WebDriver" Version="3.141.0" />
    <PackageReference Include="Selenium.WebDriver.ChromeDriver" Version="83.0.4103.3900" />
    <PackageReference Include="SpecFlow" Version="3.3.22-beta" />
    <PackageReference Include="SpecFlow.NUnit" Version="3.3.22-beta" />
    <PackageReference Include="SpecFlow.NUnit.Runners" Version="3.3.22-beta" />
    <PackageReference Include="SpecFlow.Tools.MsBuild.Generation" Version="3.3.22-beta" />
  </ItemGroup>
Run command: dotnet restore to setup all these nuget packages.
Write specification in Gherkin language
- Add a new feature definition file :
./Features/PriceCalculator.feature
Feature: Price Calculator
    User provide product SKU and amount to buy,
    then the total price will be determined
    based on unit-price, amount and sales condition.

Scenario: Calculate total price to pay
   Given I enter SKU number 'A-1234'
   And I enter purchase amount 5
   When I clicks calculate
   Then the calculator shows 500 as the total price to pay
- Add the testing steps :
./Features/PriceCalculatorSteps.cs
using NUnit.Framework;
using TechTalk.SpecFlow;

namespace SpecFlowDemo.Features
{
    [Binding]
    public class PriceCalculatorSteps
    {
        private string sku { get; set; }
        private int amount { get; set; }
        private int totalPrice { get; set; }

        [Given(@"I enter SKU number '(.*)'")]
        public void InputSKU(string inputSku)
        {
            sku = inputSku;
        }

        [Given(@"I enter purchase amount (.*)")]
        public void InputAmount(int inputAmount)
        {
            amount = inputAmount;
        }

        [When(@"I clicks calculate")]
        public void ClickCalculate()
        {
            var calculator = new Calculator();
            calculator.Sku = sku;
            calculator.Amount = amount;
            totalPrice = calculator.CalculatePriceToPay();
        }

        [Then(@"the calculator shows (.*) as the total price to pay")]
        public void Calculate(int expectedPrice)
        {
            Assert.That(totalPrice, Is.EqualTo(expectedPrice));
        }
    }
}
Run the Tests
Execute this command:
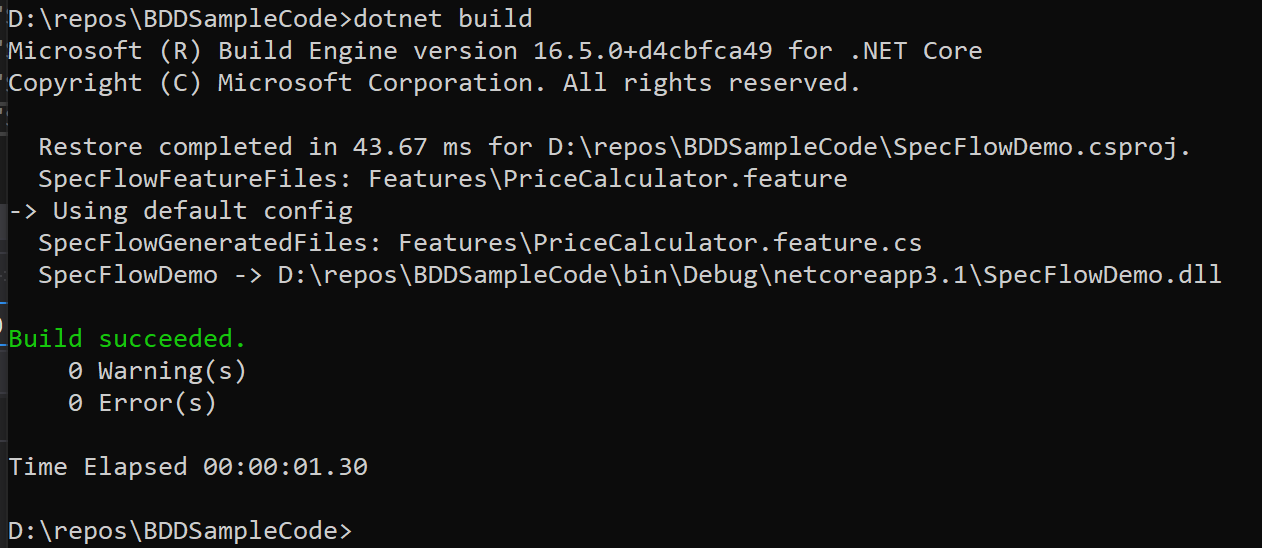
dotnet build
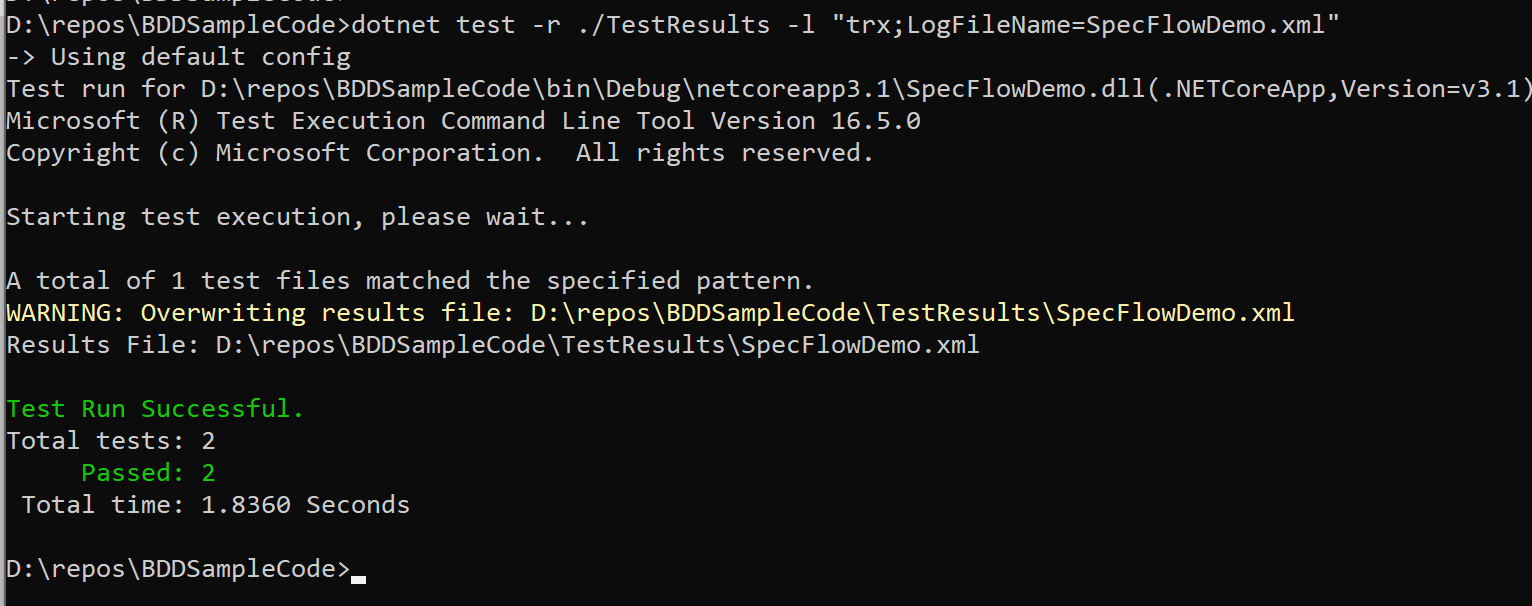
dotnet test -r ./TestResults -l "trx;LogFileName=SpecFlowDemo.xml"
trx means the test result file will be in VSTest format.
Currently, dotnet test command does not support producing NUnit3-format TestResults file.
So we use VSTest format to produce TestResults file.
pickles will take the TestResults file to generate the final living documentation.
Generate living documentation
Add the following lines to SpecFlowDemo.csproj
  <Target Name="document">
    <PropertyGroup>
      <PicklesExe>$(NuGetPackageRoot)pickles.commandline\2.20.1\tools\pickles.exe</PicklesExe>
    </PropertyGroup>
    <Exec Command="$(PicklesExe) -sn=Demo -sv=v1.0 --trfmt=vstest -df=dhtml -f=./Features  -o=./doc --lr=TestResults\SpecFlowDemo.xml" />
  </Target>
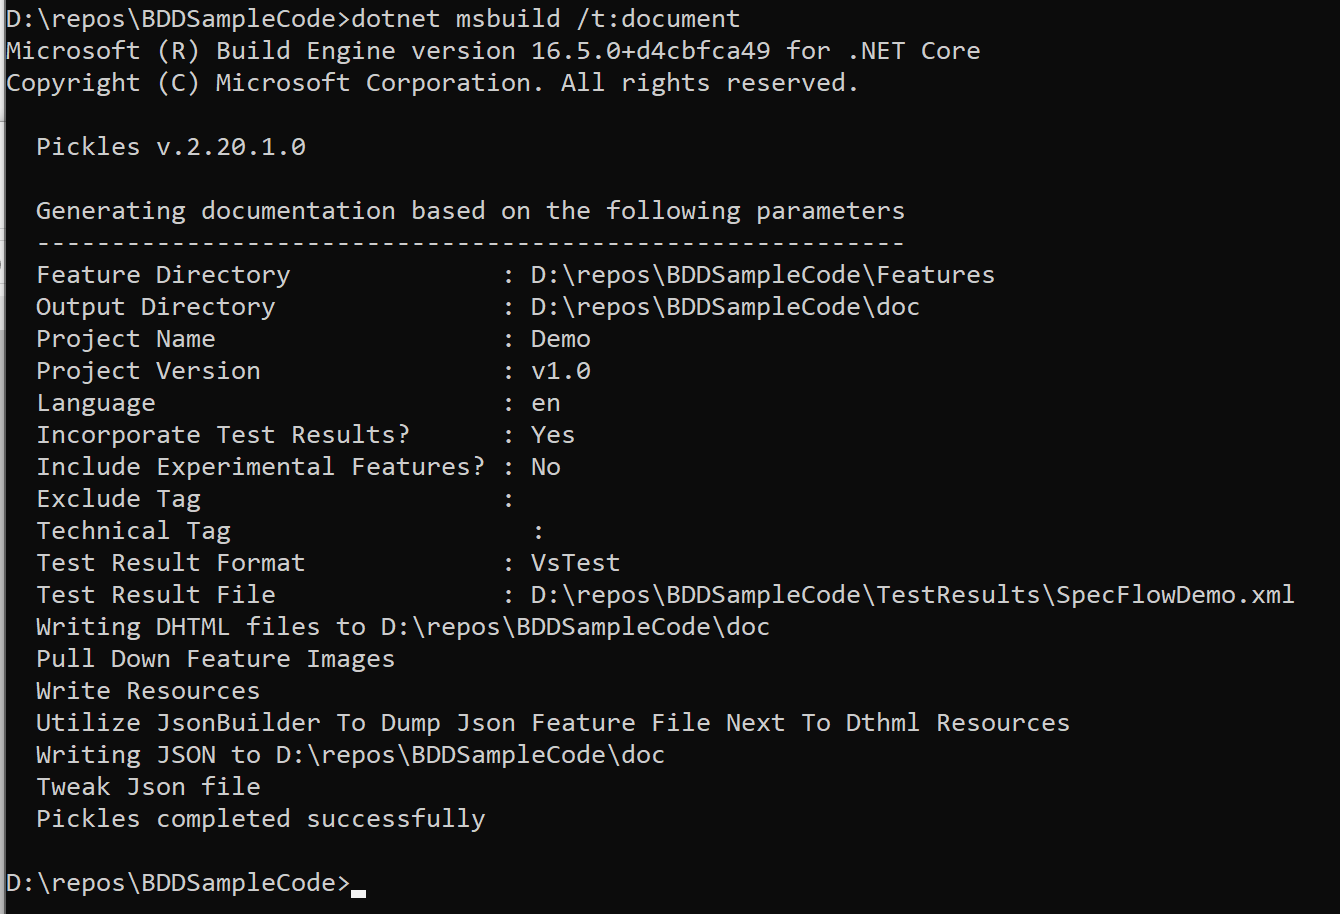
Then this command will generate documents under folder: doc.
dotnet msbuild /t:document
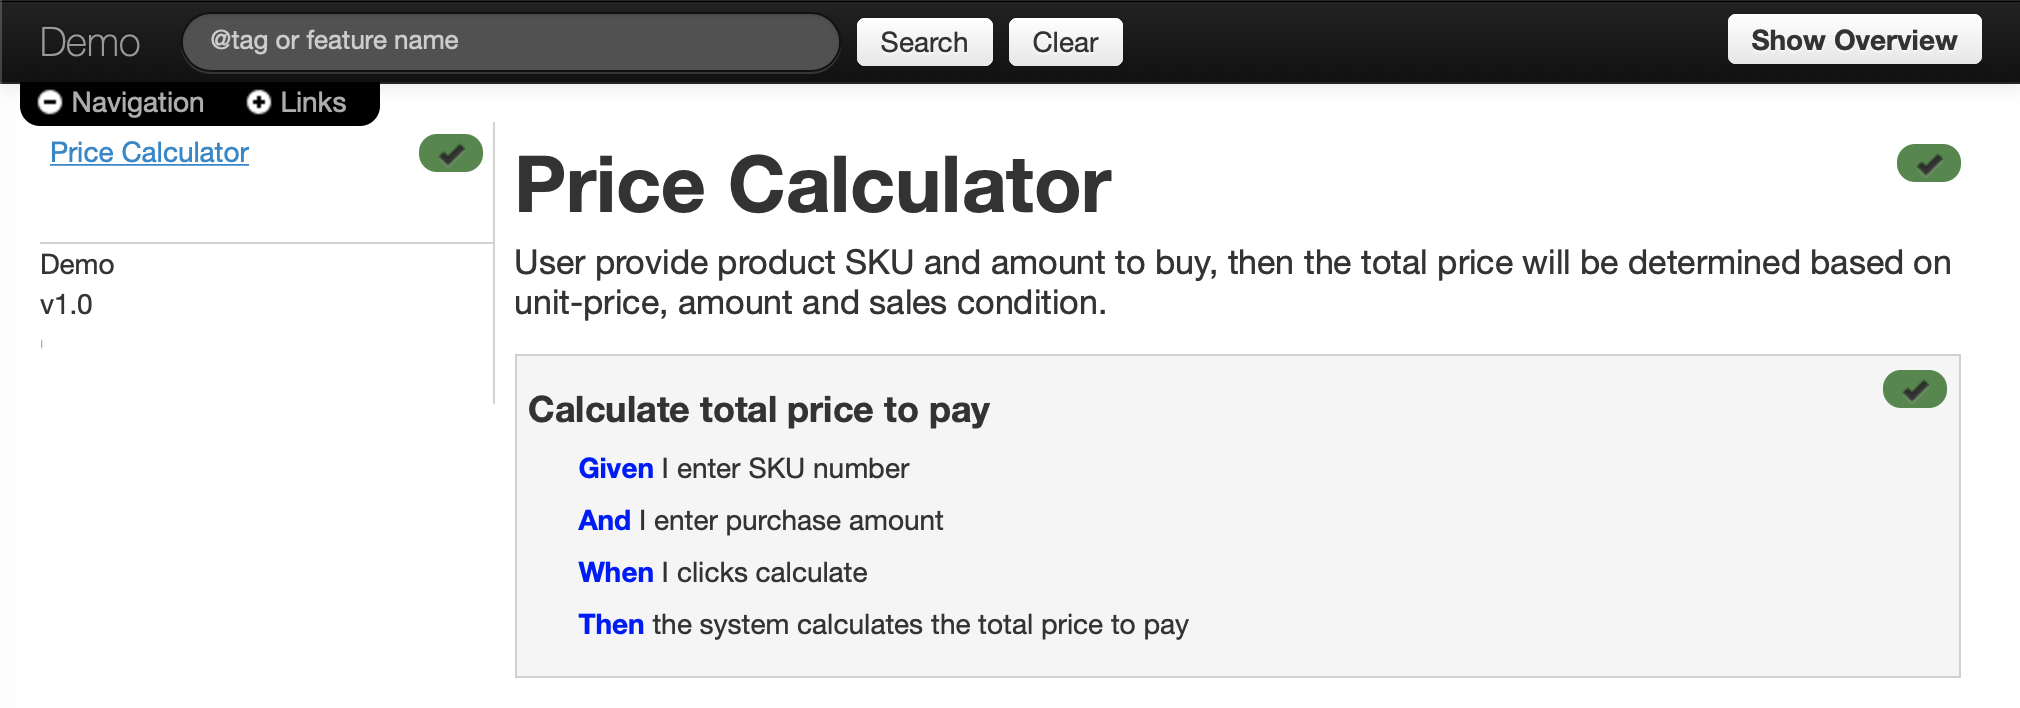
The html document looks like this:
